- Home
- Shop All
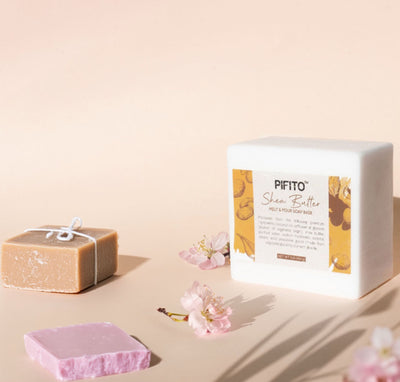
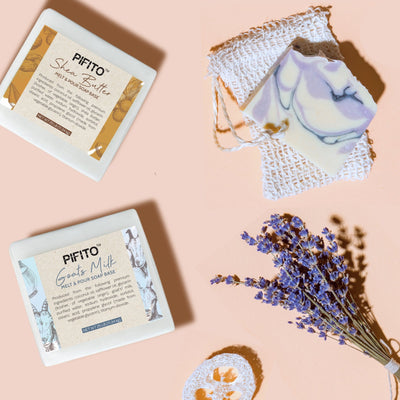
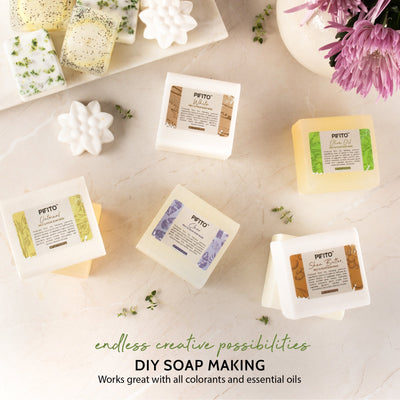
- Melt and Pour Soap Base
- Soap Making Kit
- Melt and Pour Soap Making Kit 1
- Melt and Pour Soap Making Kit 2
- Cold Process Soap Making Kit
- Melt and Pour Soap Base Sampler #1
- Melt and Pour Soap Base Sampler #2
- Melt and Pour Soap Base Sampler #3
- Melt and Pour Soap Base Sampler #4
- Pre-Cut Melt and Pour Soap Base Sampler #1
- Pre-Cut Melt and Pour Soap Base Sampler #2
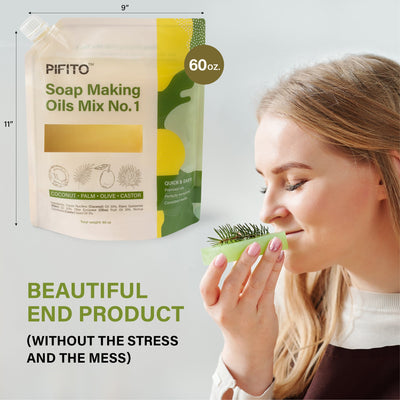
- Soap Making Oils
- Colorants
- By Category
- Support
- Blog