


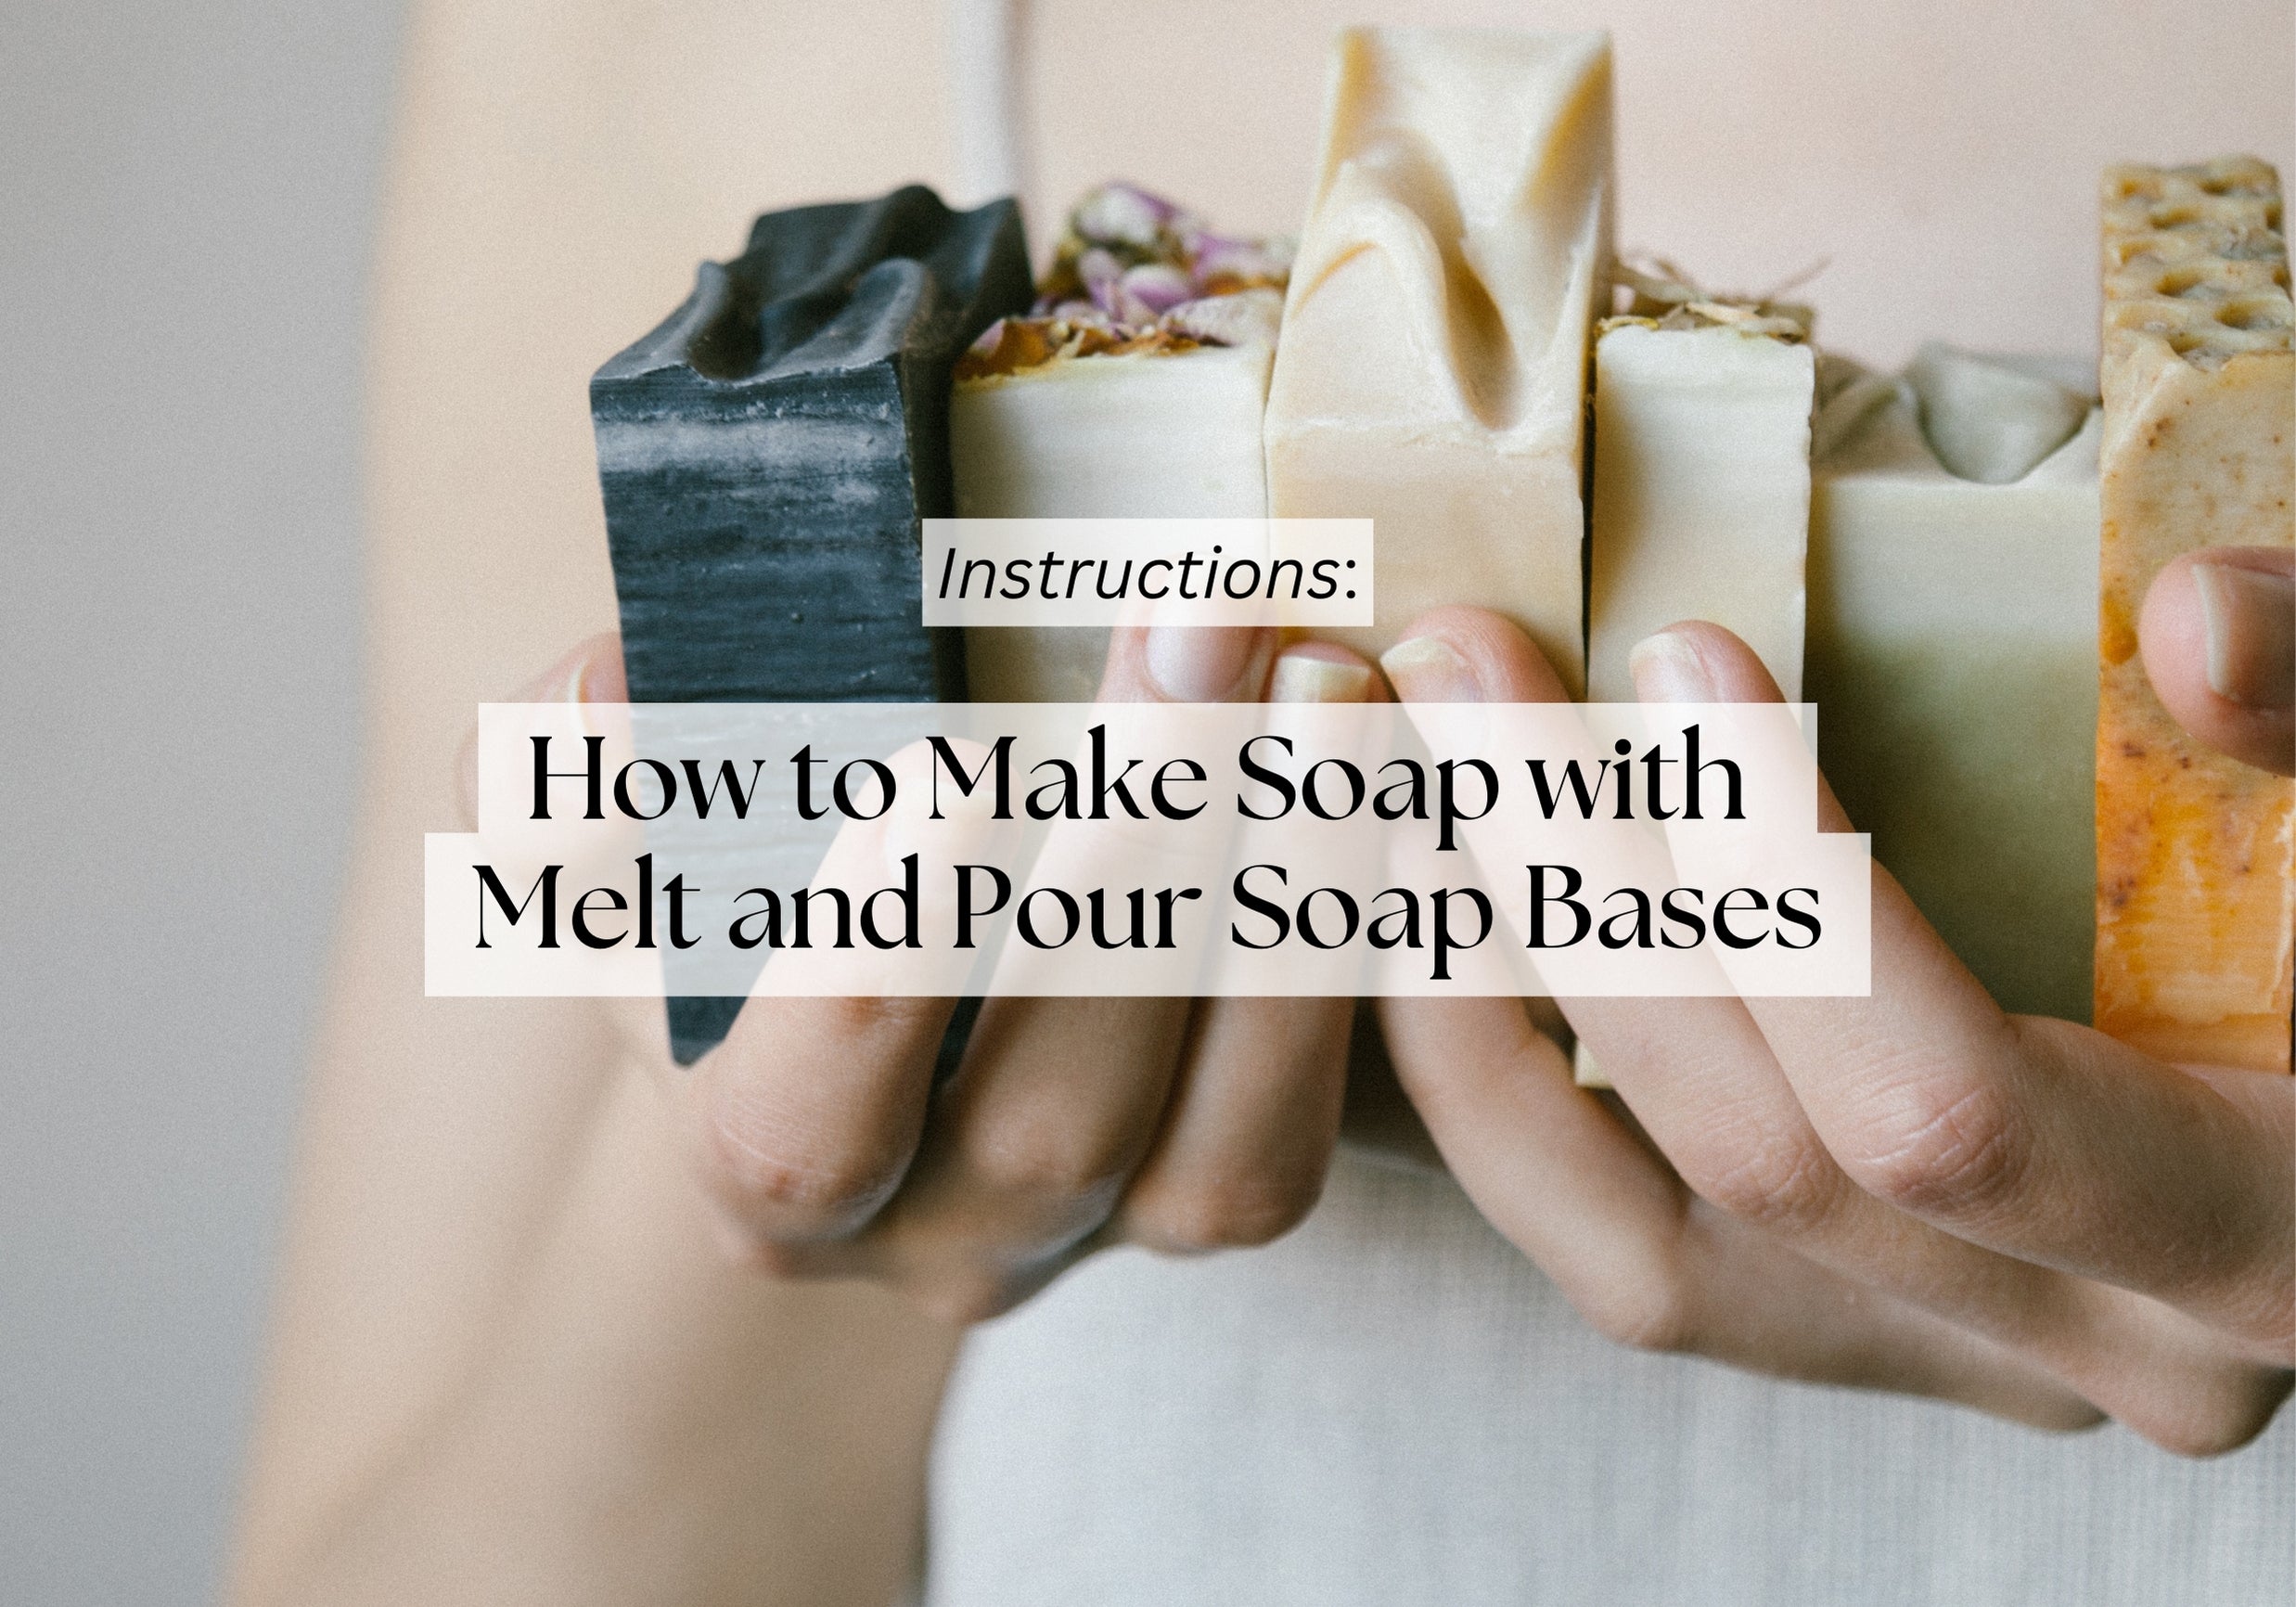
Making Soap Without Lye: A Beginner's Guide to Melt and Pour Soap Making
Introduction:
Soap making has long been considered an art form, but the traditional method involving lye can be intimidating for beginners. However, there's a simpler way to dive into the world of soap crafting: melt and pour soap making. This method allows you to create beautiful artisanal soaps without the need to handle lye directly. With readily available melt and pour soap bases and a few creative additives, you can unleash your inner artisan and craft delightful handmade soaps right at home.
Understanding Melt and Pour Soap Making:
Melt and pour soap making involves melting pre-made soap bases and adding your choice of colorants, fragrances, and additives to customize your creations. The process is straightforward and eliminates the need for handling lye, making it perfect for beginners and those concerned about the safety of working with caustic substances.
Materials Needed:
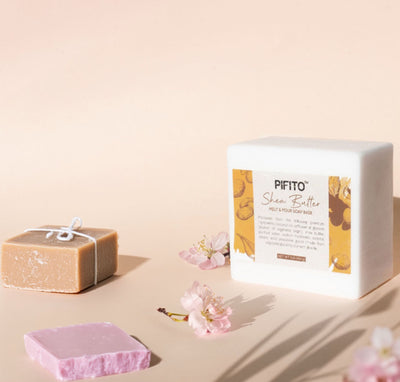
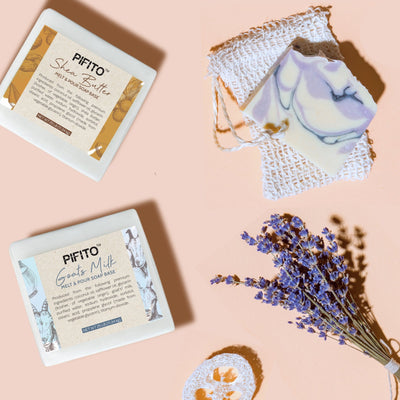
- Melt and Pour Soap Base: Available in various types such as clear glycerin, white glycerin, shea butter, goat's milk, and more.
- Fragrance oils or essential oils: Choose scents that appeal to you, ensuring they are skin-safe.
- Colorants: Liquid or powder dyes specifically formulated for soap making.
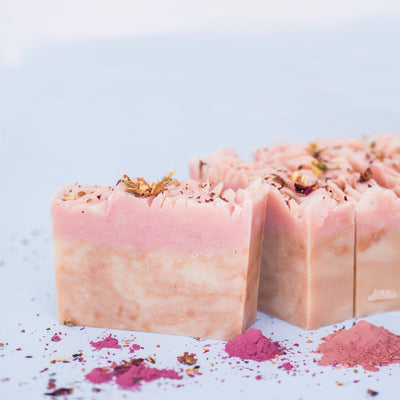
- Additives: Optional additives such as exfoliants (oatmeal, coffee grounds), botanicals (dried flowers, herbs), and moisturizers (honey, cocoa butter).
- Soap molds: Silicone molds come in various shapes and sizes for creating unique soap designs.
- Heat-resistant containers: Microwave-safe or heatproof containers for melting the soap base.
- Stirring utensils: Heat-resistant spoons or spatulas for mixing additives into the melted soap base.
- Rubbing alcohol: Helps to eliminate air bubbles and promote adhesion between layers if making layered soaps.
Steps to Make Melt and Pour Soap:
- Cut the soap base into small chunks or cubes for faster melting.
- Place the soap chunks in a heat-resistant container and melt them in the microwave using short bursts of 30 seconds or in a double boiler on the stove until completely melted.
- Once melted, add fragrance oils or essential oils according to your preference. Start with a few drops and adjust to achieve the desired scent strength.
- Stir in colorants, if desired, until the desired hue is achieved. Remember that the color may appear darker when the soap hardens.
- If using additives like exfoliants or botanicals, sprinkle them into the melted soap base and stir gently to distribute evenly.
- Pour the melted soap mixture into the soap molds. Tap the molds gently on the counter to release any air bubbles.
- Allow the soap to cool and harden completely, which usually takes a few hours depending on the size and thickness of the soap bars.
- Once hardened, carefully unmold the soaps. If making layered soaps, spritz each layer with rubbing alcohol before pouring the next layer to ensure adhesion.
- Your handmade melt and pour soaps are now ready to use or gift to friends and family!
Tips for Success:
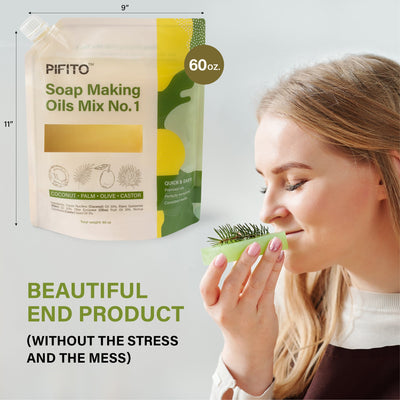
- Experiment with different soap bases to achieve desired properties such as transparency, lather, and moisturizing qualities.
- Start with small batches to familiarize yourself with the process before attempting larger projects.
- Keep track of the amount of fragrance oils, colorants, and additives used to replicate successful recipes.
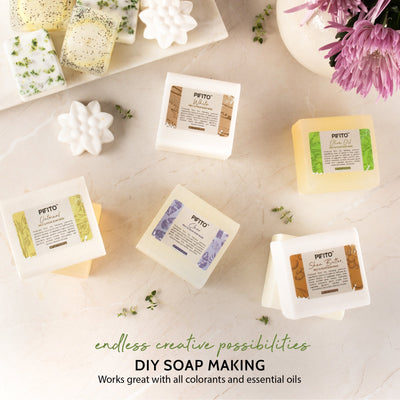
- Get creative with shapes, colors, and designs to make your soaps stand out.
- Store finished soaps in a cool, dry place away from moisture to prolong their shelf life.
Conclusion:
Melt and pour soap making offers a fun and accessible way to create personalized artisanal soaps without the need for lye. With a variety of soap bases, fragrances, colors, and additives available, the possibilities for customization are endless. Whether you're making soaps for personal use or as thoughtful gifts for loved ones, the satisfaction of crafting your own handmade creations is truly rewarding. So gather your materials, unleash your creativity, and embark on your journey to becoming a soap-making artisan!
-
Posted in
Melt and Pour Soap Base

