


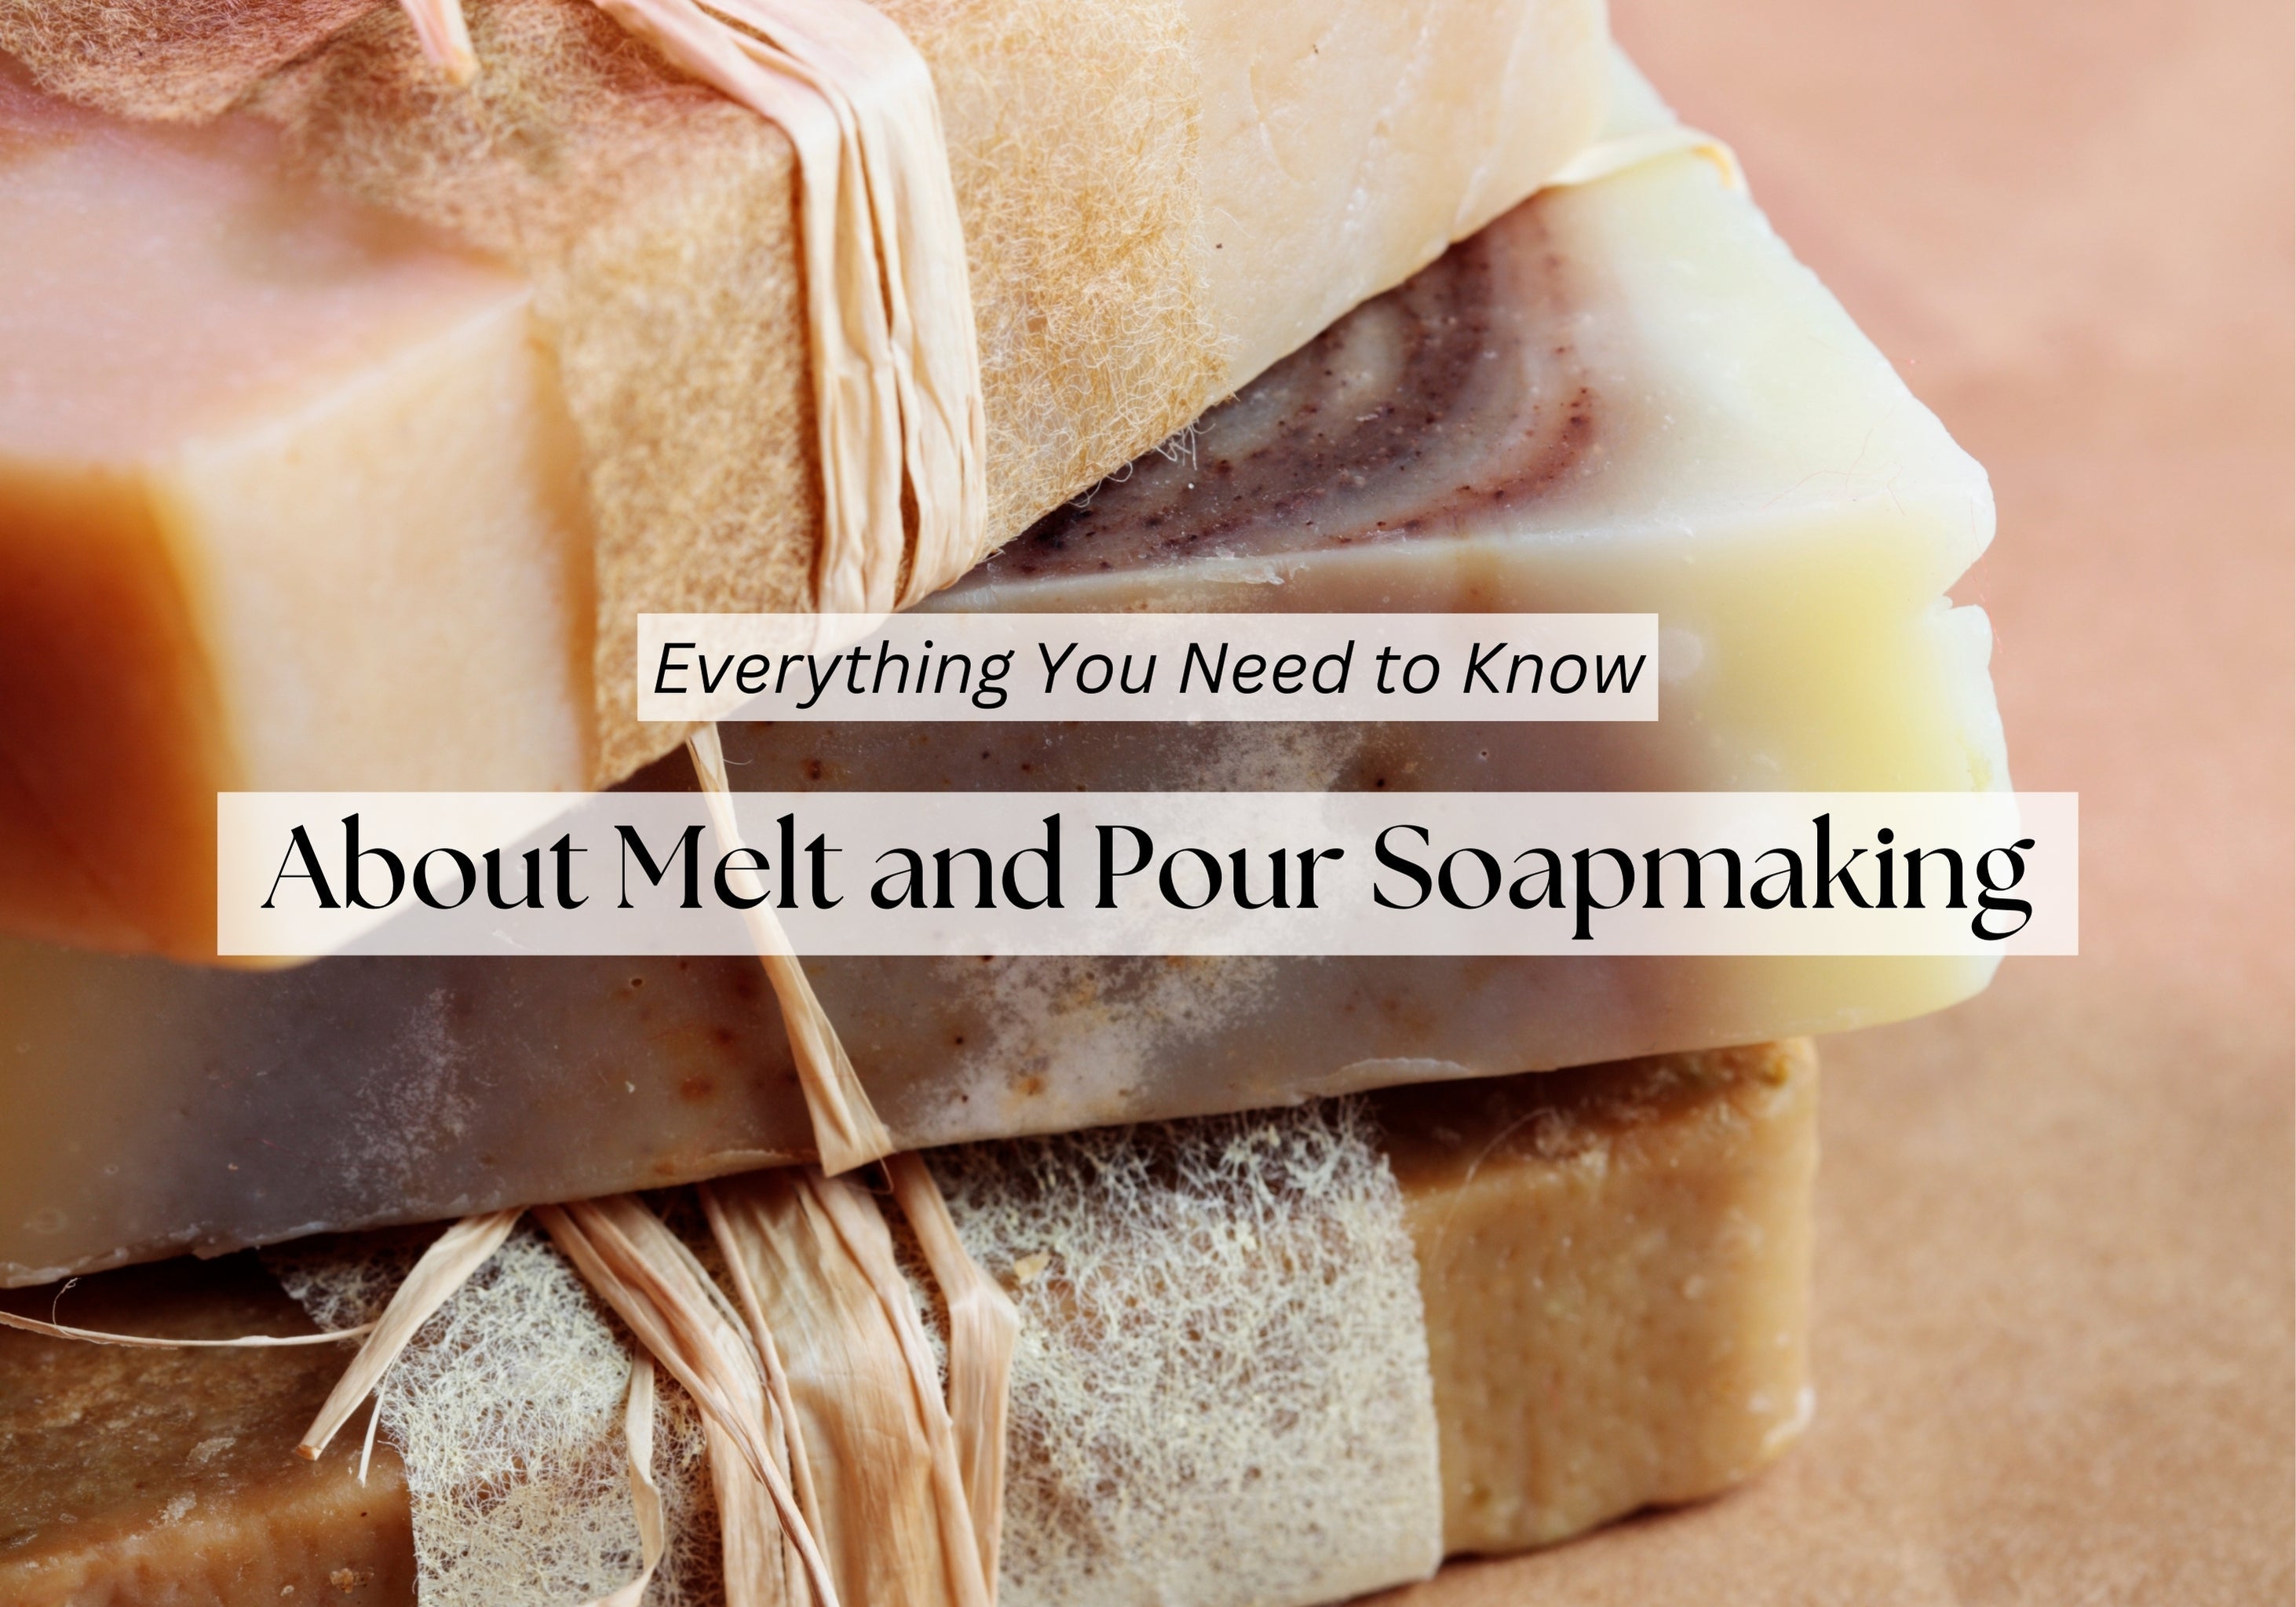
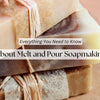
Everything You Need to Know About Melt and Pour Soapmaking
Stepping into the world of soapmaking can be both exciting and a little overwhelming. For those who want to skip the complexities and dive straight into creating beautiful, customized soap, melt and pour soapmaking is the perfect place to start. This method is simple, safe, and offers endless possibilities for creativity.
Whether you're looking to make gifts for friends, start a small business, or just enjoy a new hobby, melt and pour soapmaking provides an accessible way to get hands-on and have fun. Let's explore the essentials to get you started on your soapy adventure!
What is it?
Melt & pour soapmaking is as simple as it sounds. You take a pre-made soap base, melt it down, mix in your favorite fragrances, colors, and additives, and then pour it into a mold. It's perfect for beginners but also offers room for creativity and advanced techniques.
Benefits of Melt and Pour Soapmaking
- You Don’t Need to Handle Lye: The biggest perk? You don’t have to deal with lye since the base is already saponified. It’s safer and easier, especially for those new to soapmaking.
- Use Your Soap Right Away: Unlike cold process soap that needs weeks to cure, melt and pour soap is ready to use as soon as it hardens. This means instant gratification and no long waiting periods.
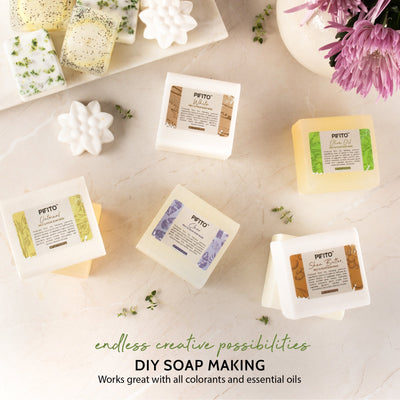
- Customize to Your Heart’s Content: You can add a variety of ingredients like milks, oils, and other fats to create unique textures and effects. Think about what you want in your soap – from the look and feel to the scent and skin benefits.
- Enjoy the Benefits of Glycerin: Melt and pour bases are packed with glycerin, which draws moisture to your skin. Just remember, this also means the soap can sweat in humid conditions, so wrap your bars properly.

Perfect for Beginners
Melt and pour is the go-to method for anyone starting out in soapmaking. All you do is melt the soap base, add your customizations, and pour it into a mold. It’s straightforward and doesn’t require handling caustic substances. Plus, it’s great for kids and those looking for a quick project.
Getting Started
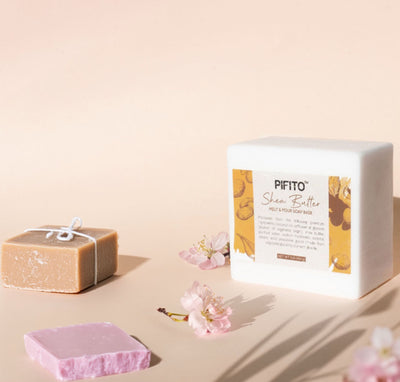
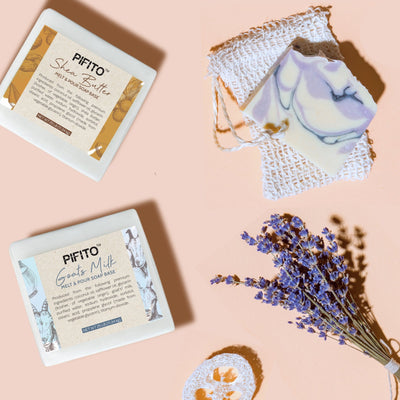
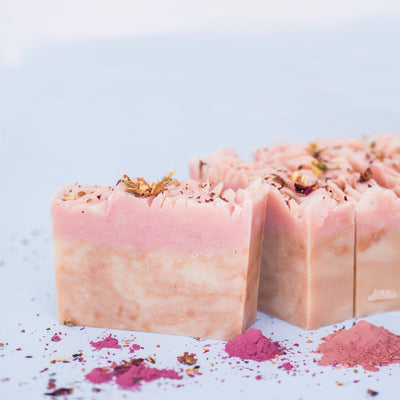
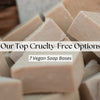
- Choose the Right Soap Base: Clear and white melt and pour bases are great starting points. The clear base gives bright, vibrant colors, while the white base offers softer, pastel tones. Look for options with added benefits like shea butter, goat milk, or aloe.
- Select Appropriate Molds: Use molds that can handle high temperatures and are flexible for easy removal. Silicone and plastic molds are fantastic choices.
- Pick Your Colorants Wisely: Mica and oxide pigments are popular and easy to use, offering great results in your finished bars.
- Follow Essential Safety Tips: Melt and pour soap starts to melt around 120°F, so use heat-safe tools and be cautious. If you’re working with kids, make sure they can handle their tasks safely and supervise them closely.
Things to Consider
When diving into melt and pour soapmaking, think about the look and feel you want your soap to have. Consider the color, clarity, texture, lather, moisturizing properties, and scent. It’s all about creating a product that’s uniquely yours and meets your personal skincare needs.
With these basics in mind, you’re ready to start your melt and pour soapmaking journey. Have fun experimenting and enjoy the process of crafting your own beautiful, custom soap bars!
-
Posted in
Colorants, Melt and Pour Soap Base
