

Expert Tips & Tricks for a Stress-Free Soap Making Experience
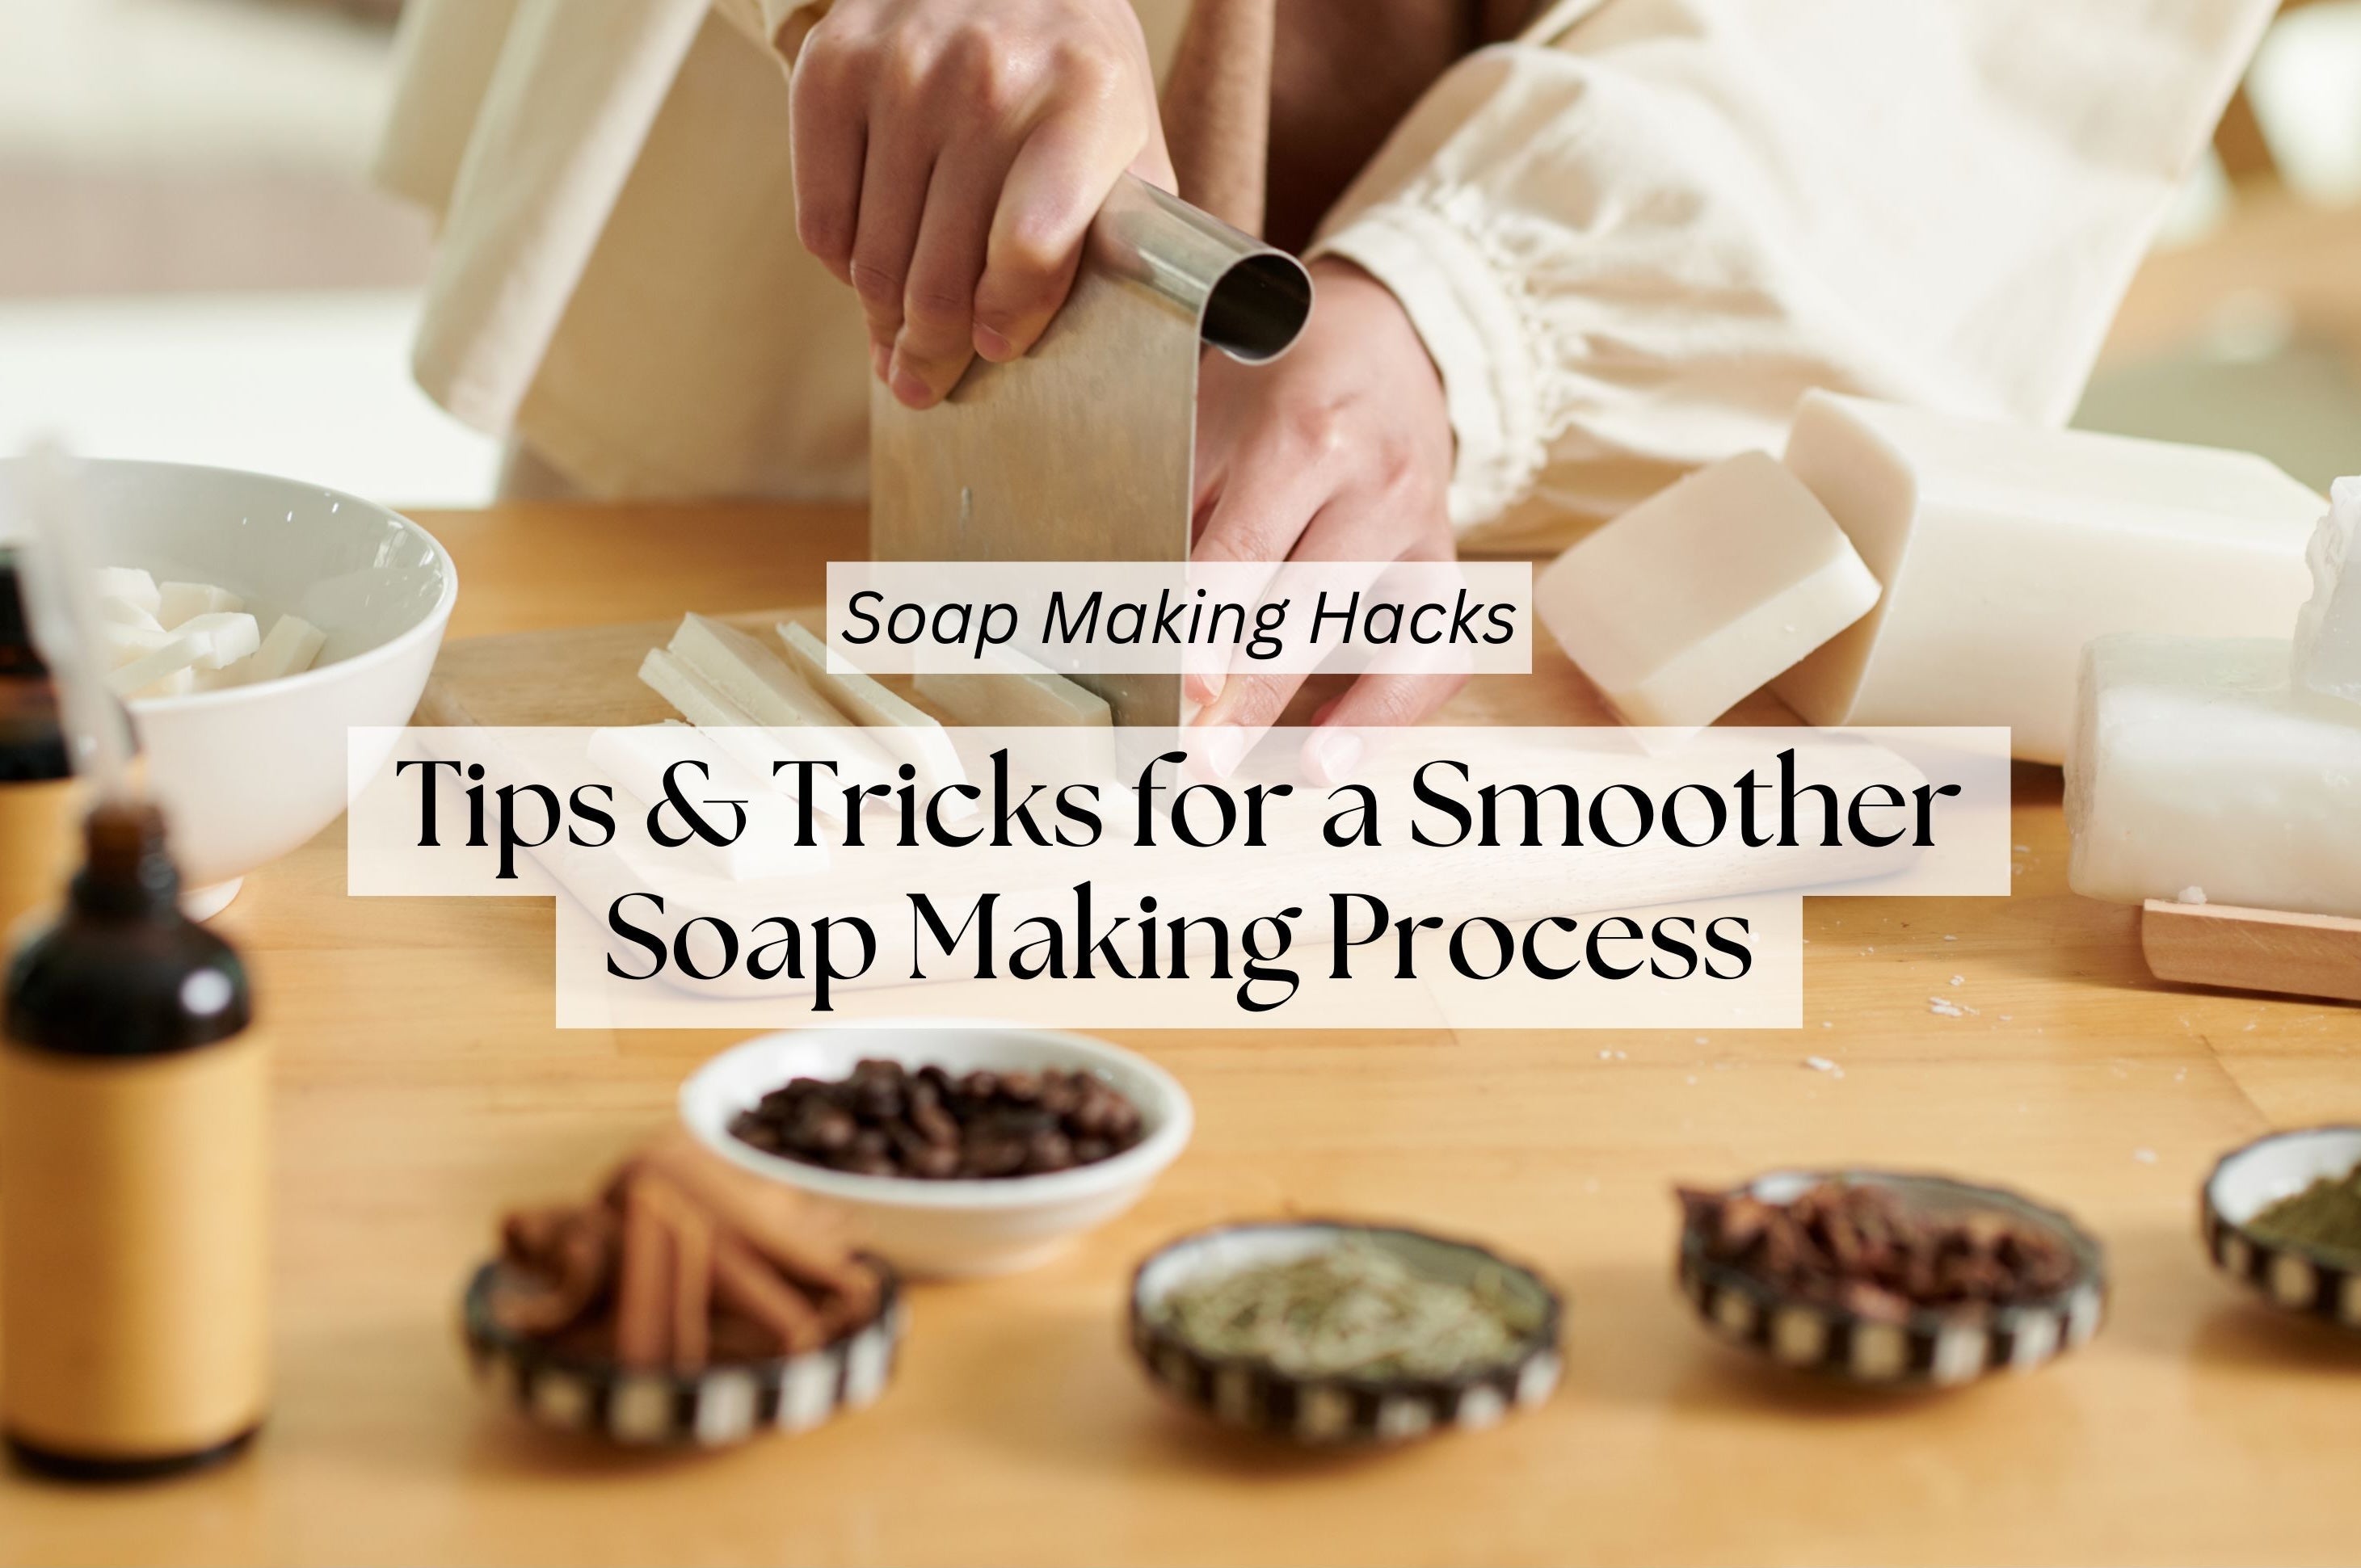
If you’ve ever made soap before, you know it’s both fun and rewarding. But sometimes, little things can go wrong—like air bubbles or uneven coloring. Whether you’re a beginner or an experienced soap maker, these simple hacks will help you get better results and enjoy a smoother soap-making process.
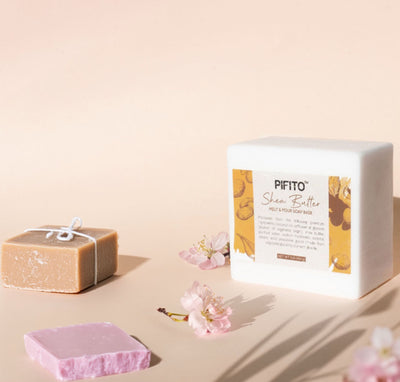
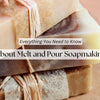
1. Use Melt and Pour for Easy Soap Making
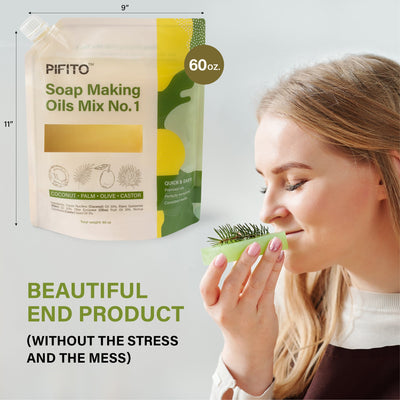
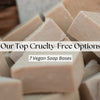
If you want a simple and quick way to make soap, melt and pour soap bases are the best option. They skip the tricky lye process, making them perfect for beginners. Pifito’s melt and pour soap bases are high-quality and easy to work with. Just melt, mix in your colors and scents, and pour into molds.
2. Get the Right Temperature
If your soap base is too hot, it can burn or create bubbles. If it’s too cold, it won’t mix well. A good rule of thumb is to melt it slowly at a low temperature. Use a double boiler or microwave in short bursts, stirring in between. This ensures a smooth soap texture without overheating.
3. Prevent Bubbles
Bubbles can ruin the smooth look of your soap. To avoid them, stir gently when mixing ingredients. If you see bubbles after pouring, spritz the surface with isopropyl alcohol for a clean, professional finish.
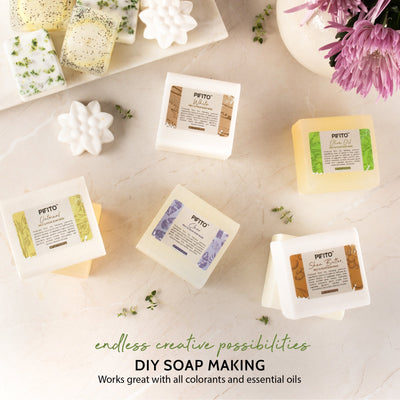
4. Add Color the Right Way
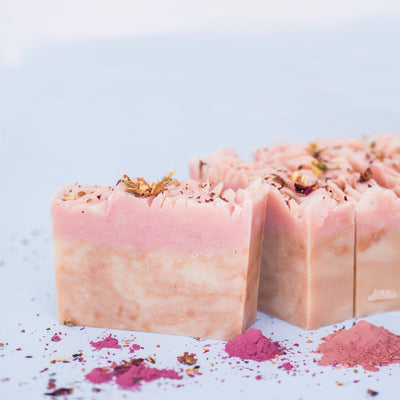
Want vibrant colors? Use micas and oxide pigment colorants instead of food coloring, which can fade. Pifito’s colorants come in a variety of beautiful shades that mix smoothly into soap bases without clumping. This helps create beautiful, Instagram-worthy handmade soap.
5. Use Silicone Molds for Easy Release
Getting soap out of a mold can be tricky. Silicone molds are the easiest to use because they’re flexible. If you’re using a hard mold, pop it in the freezer for a few minutes before unmolding. This trick makes it easier to work with detailed soap designs.
6. Keep Your Work Area Clean
Soap making can get messy. Cover your workspace with wax paper or parchment paper to make cleanup easy. Keep a damp cloth nearby to wipe spills quickly. Staying organized will make the DIY soap-making process smoother.
7. Test Small Batches First
Before making a big batch, test a small one to see how the colors and scents turn out. This helps you avoid wasting ingredients and ensures consistency in your homemade soap recipes.
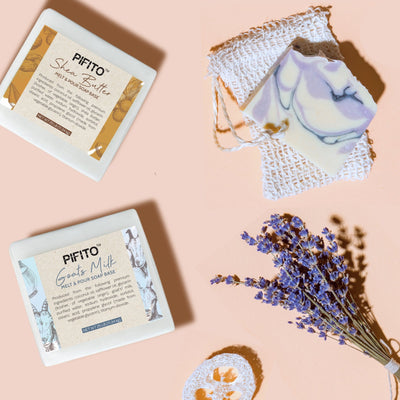
8. Try a Soap Making Kit
If you want an easy way to get started, try a Pifito DIY soap-making kit. It includes a melt and pour soap base, colorants, and molds, so you have everything you need in one set. Soap-making kits are perfect for beginners and make great gifts.
Soap making is a fun and creative process. With these simple tips and high-quality supplies, you can make beautiful, professional-looking soaps with ease. If you’re looking for easy-to-use bases, vibrant colors, and helpful kits, check out our soap-making products to make the process even smoother.
By following these soap-making hacks and business tips, you’ll be on your way to creating amazing handmade soaps that customers will love!

